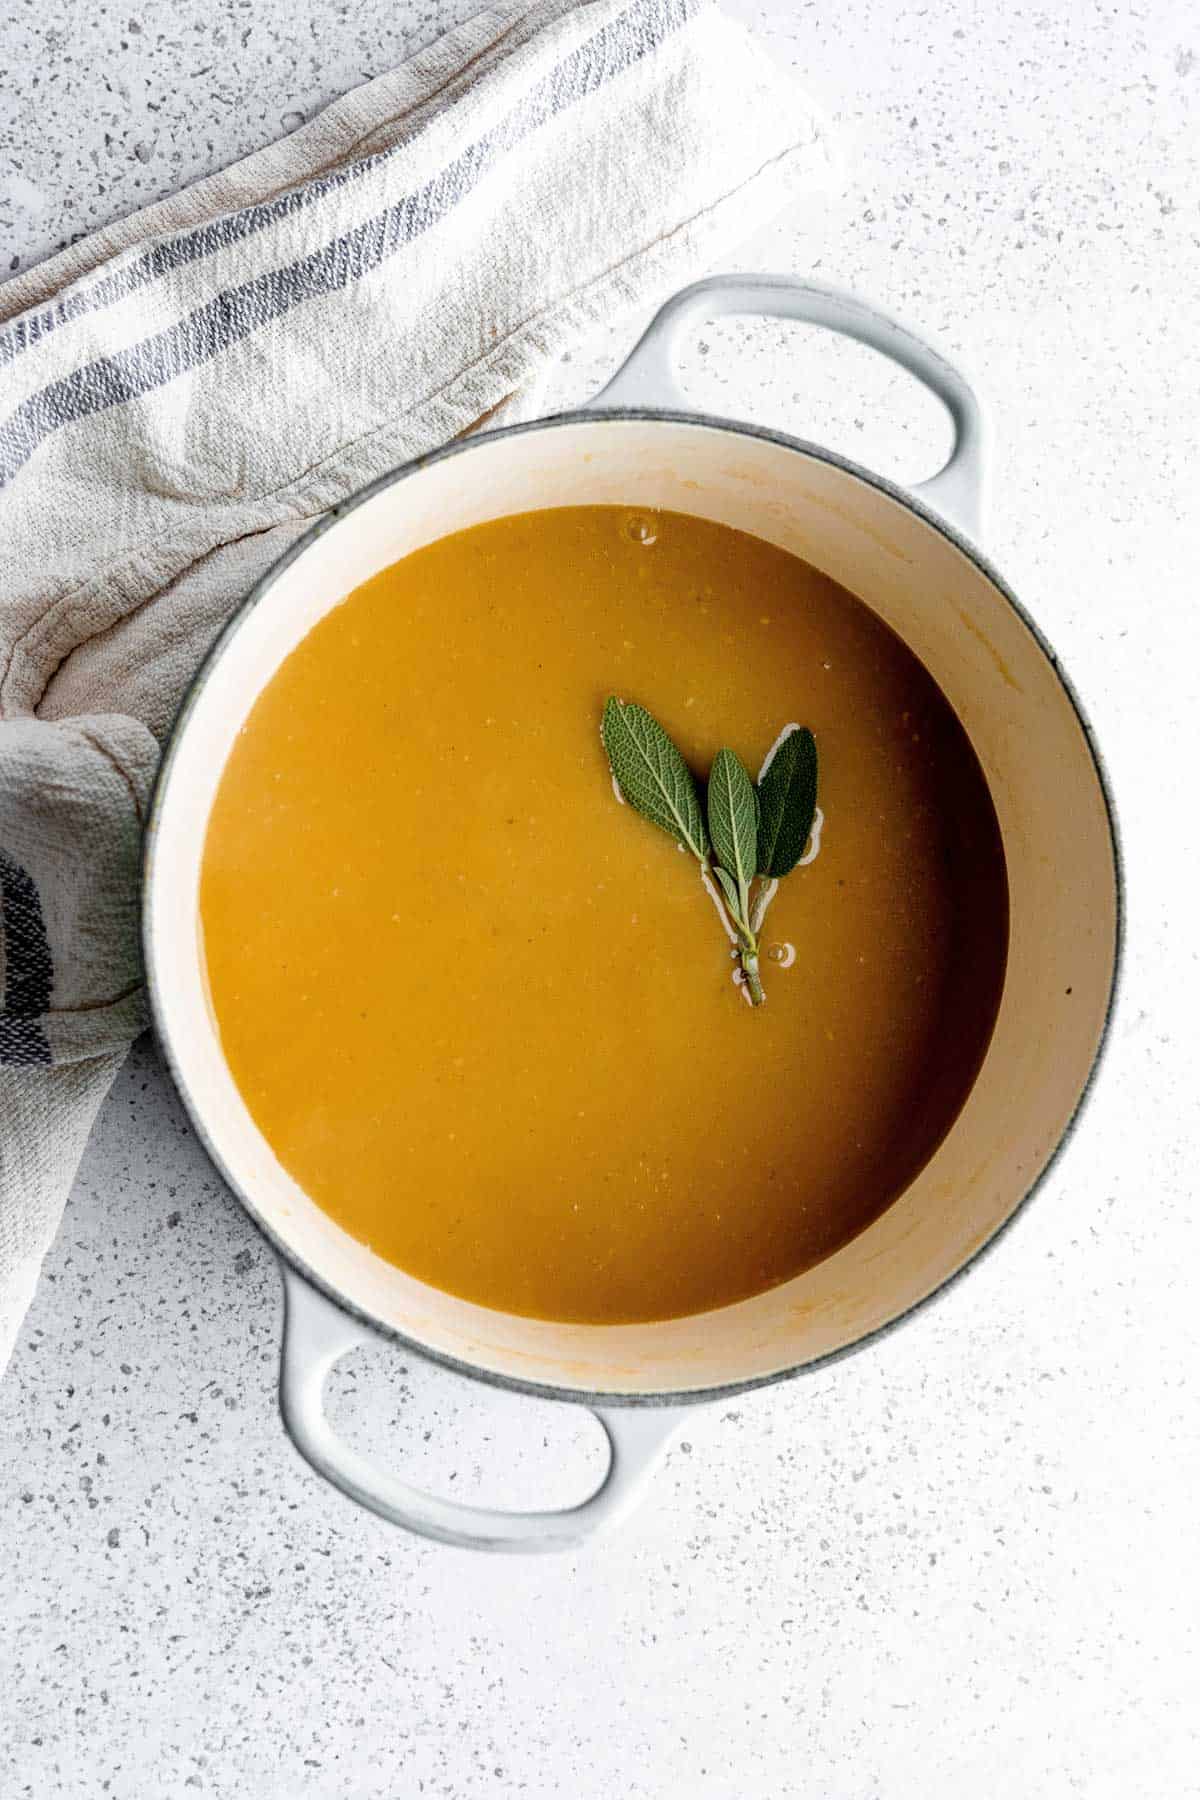
Need a delicious sauce to top your favorite dishes? Say hello to Turkey Gravy. This easy Turkey Gravy recipe uses simple ingredients like butter, garlic, Worcestershire sauce, and sage to create a perfect gravy with a depth of flavor.
You don’t have to wait until Thanksgiving dinner to enjoy delicious turkey gravy! With a few basic steps, you can create the perfect turkey gravy to top anything from Smoked Turkey Breast to Domino Potatoes. Plus, you don’t need pan drippings or turkey giblets to get a smooth gravy with a meaty flavor.
What Is Turkey Gravy?
Homemade turkey gravy is a combination of butter, flour, apple cider, Worcestershire sauce, chicken broth, sage leaves, and other ingredients. It’s an easy way to get that delicious flavor of gravy without turkey drippings.
Turkey gravy is basically a condiment to top your main and side dishes. Although you’ve probably only seen gravy in a gravy boat beside a Smoked Thanksgiving Turkey, it can be used all year round whenever you want to top your meal with extra flavor.
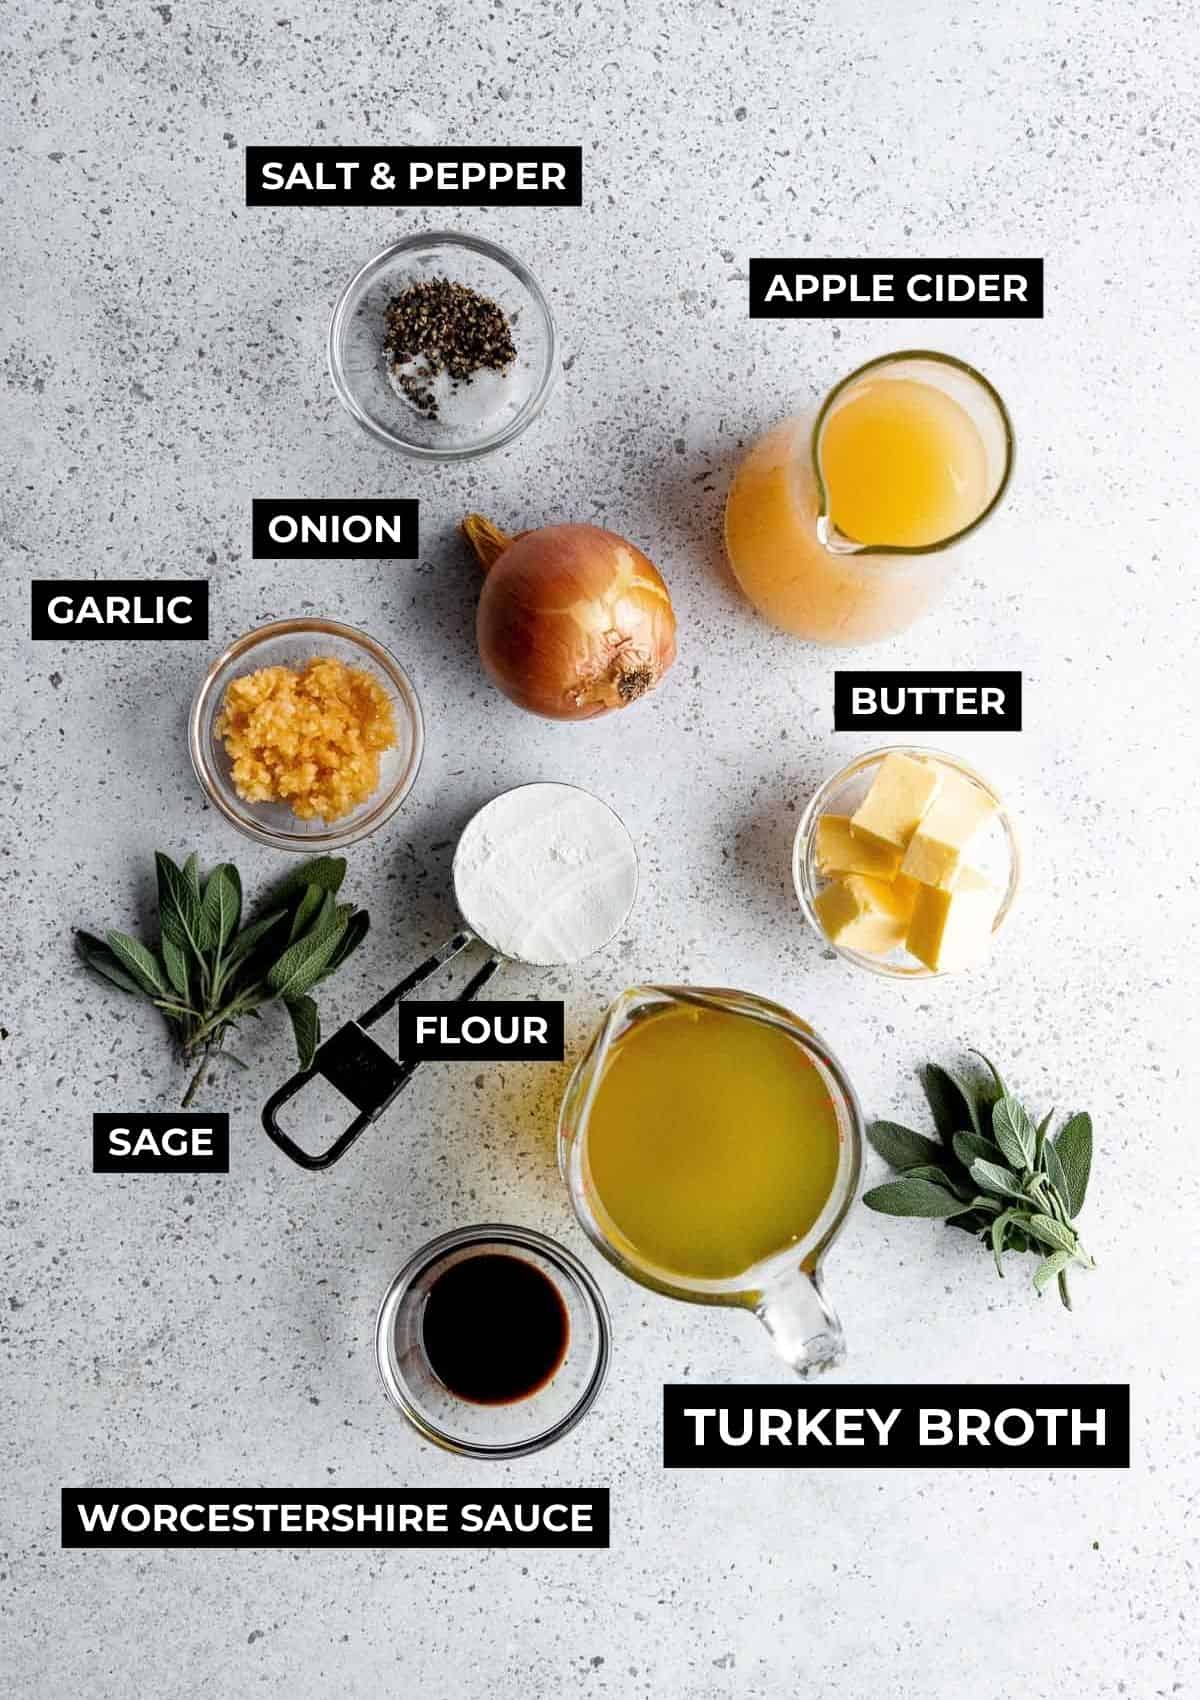
Homemade Gravy Ingredients
This basic turkey gravy skips the turkey neck and pan drippings and uses broth for the base. If you want a more traditional recipe, check out our giblet gravy. It’s the sort of gravy Mom would have whipped up for a regular Sunday dinner just to give the mashed potatoes a little something extra.
- Unsalted butter
- Medium onion – We used white onion for this recipe.
- Cloves of garlic
- All-purpose flour
- Apple cider – Try to find raw, unfiltered apple cider. Not the watered-down stuff with preservatives and artificial flavors.
- Worcestershire sauce – Adds a lovely umami flavor to the gravy. If you don’t have Worcestershire sauce, sub soy sauce, or balsamic vinegar.
- Chicken broth – we use homemade turkey stock for this. If you’re using store-bought chicken or turkey broth or stock, always buy low-sodium chicken broth.
- Small bunch of fresh sage leaves
- Kosher Salt and freshly ground pepper to taste
How to Make Gravy from Scratch
When it comes to the best turkey gravy recipe with minimal effort, this is it. It’s a perfect addition to your Thanksgiving recipes!
- Grab a medium saucepan and melt butter over medium heat.
- Now, for a little flavor twist, toss 2 sage leaves into melted butter. Let that cook for about 1-2 minutes until the butter produces a golden brown color.
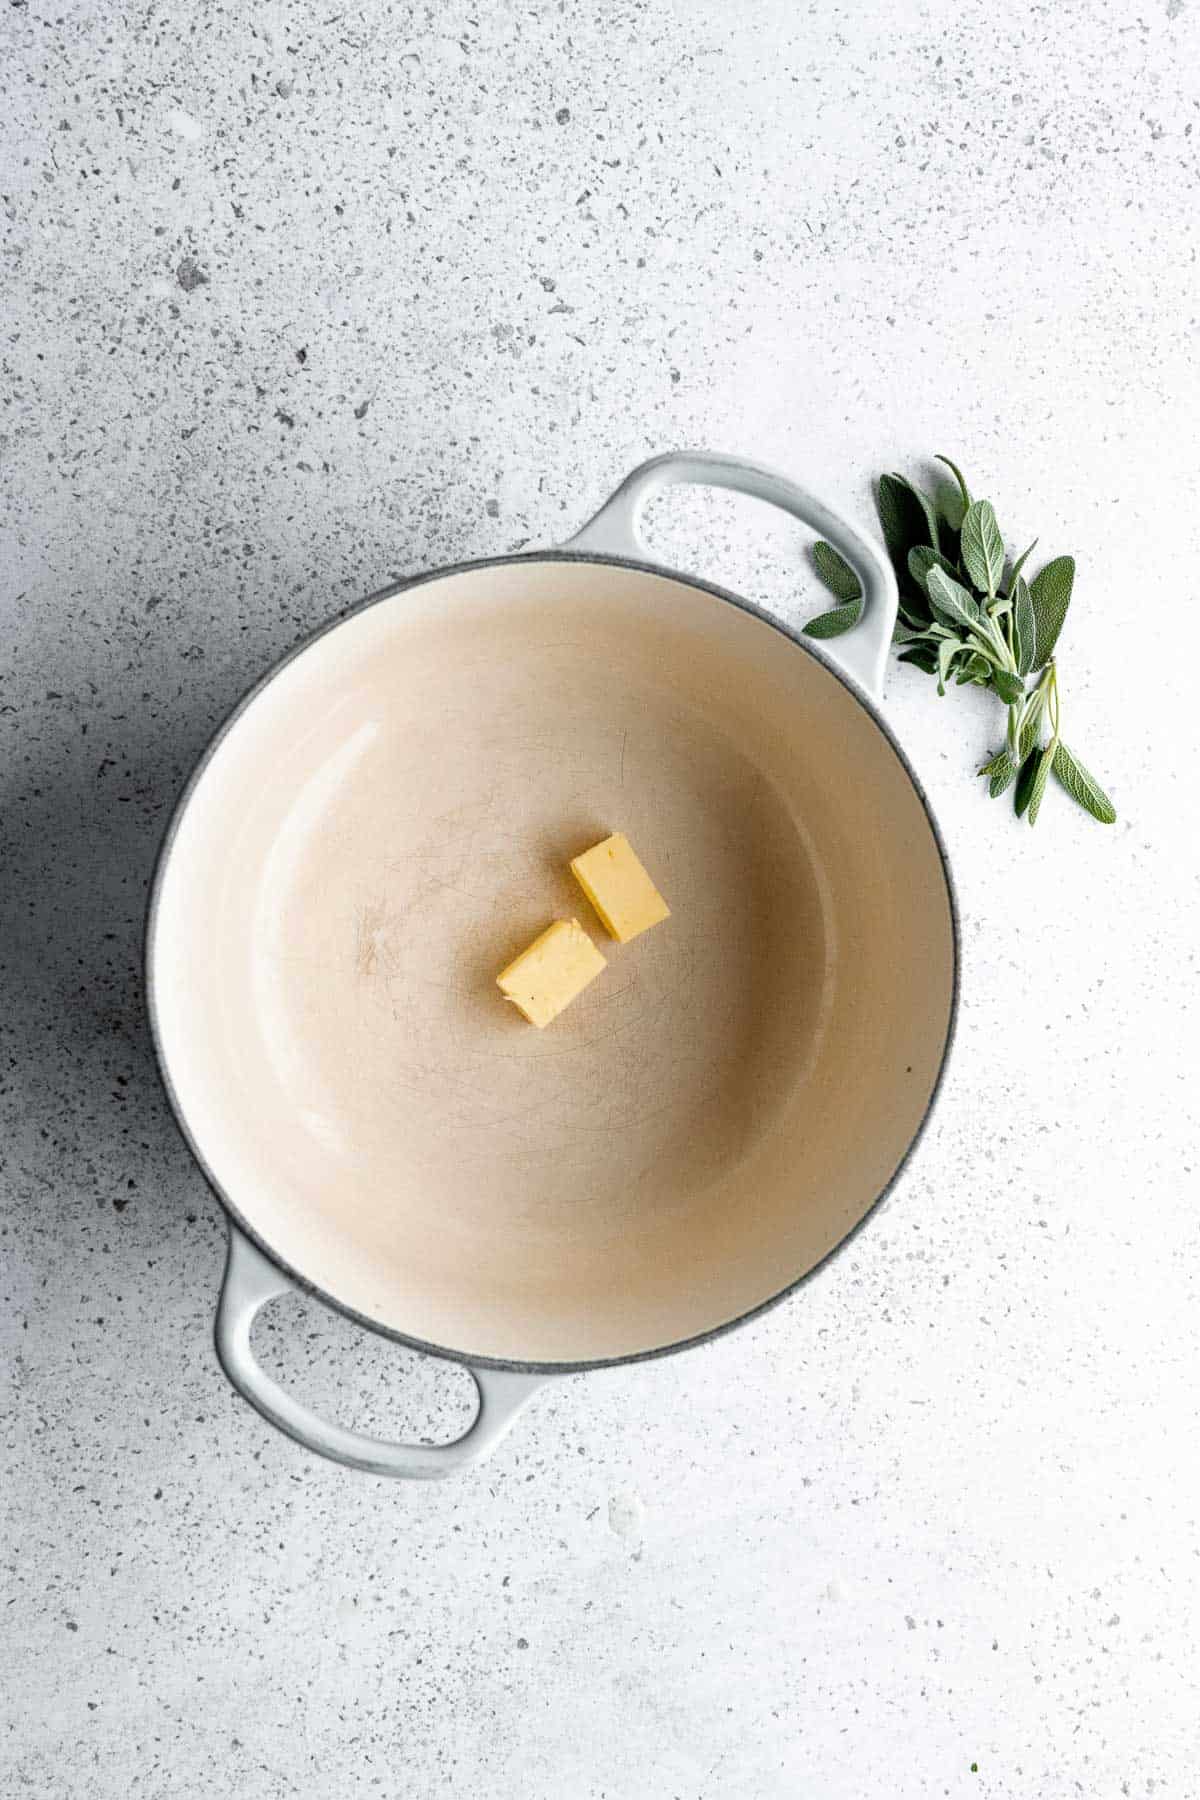


- Next, add some finely diced onion and minced garlic to the mix. Lower that heat to low and let those onions and garlic sauté until soft and translucent.
- Throw in the rest of that butter and let it melt.
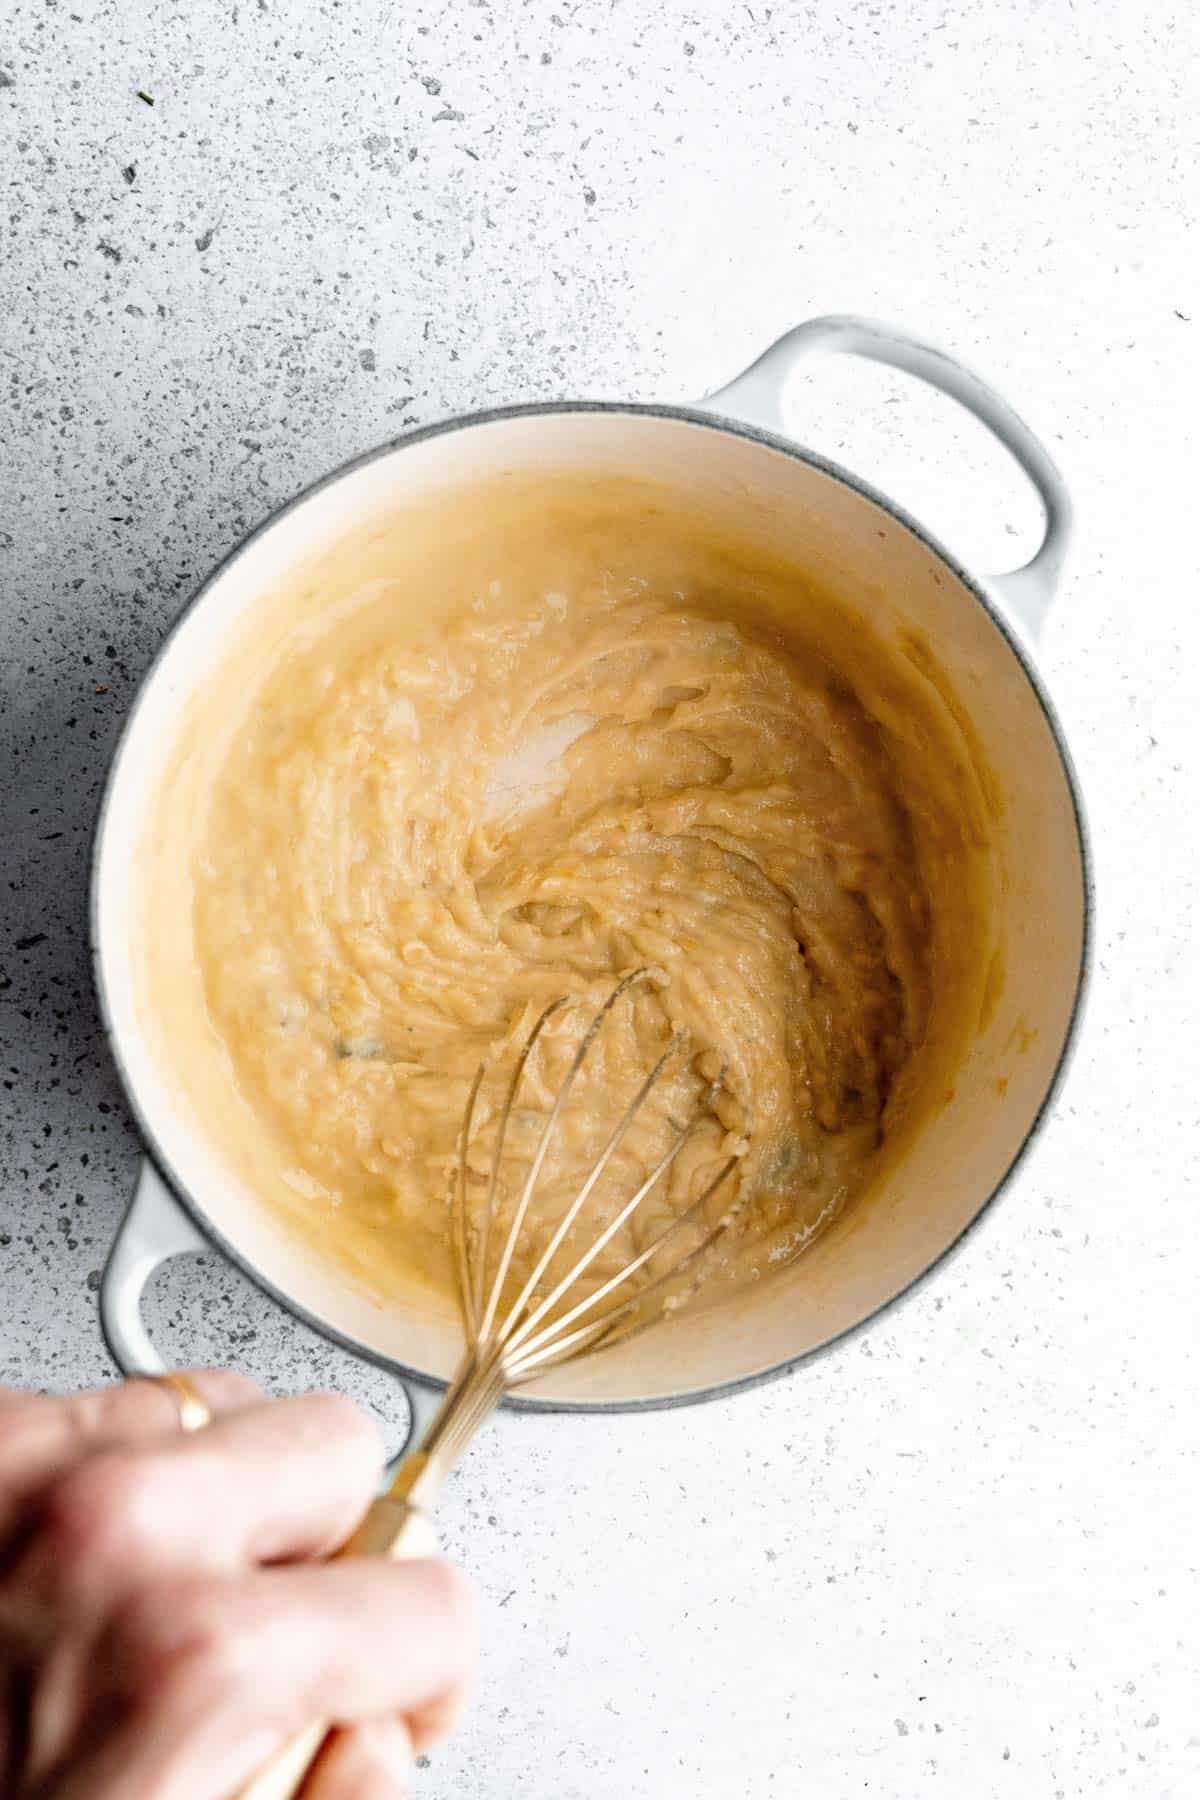
- Grab the all-purpose flour and whisk it right into butter until it turns it into a smooth, dreamy concoction called a roux. The roux acts as a thickening agent to create the right consistency for gravy.



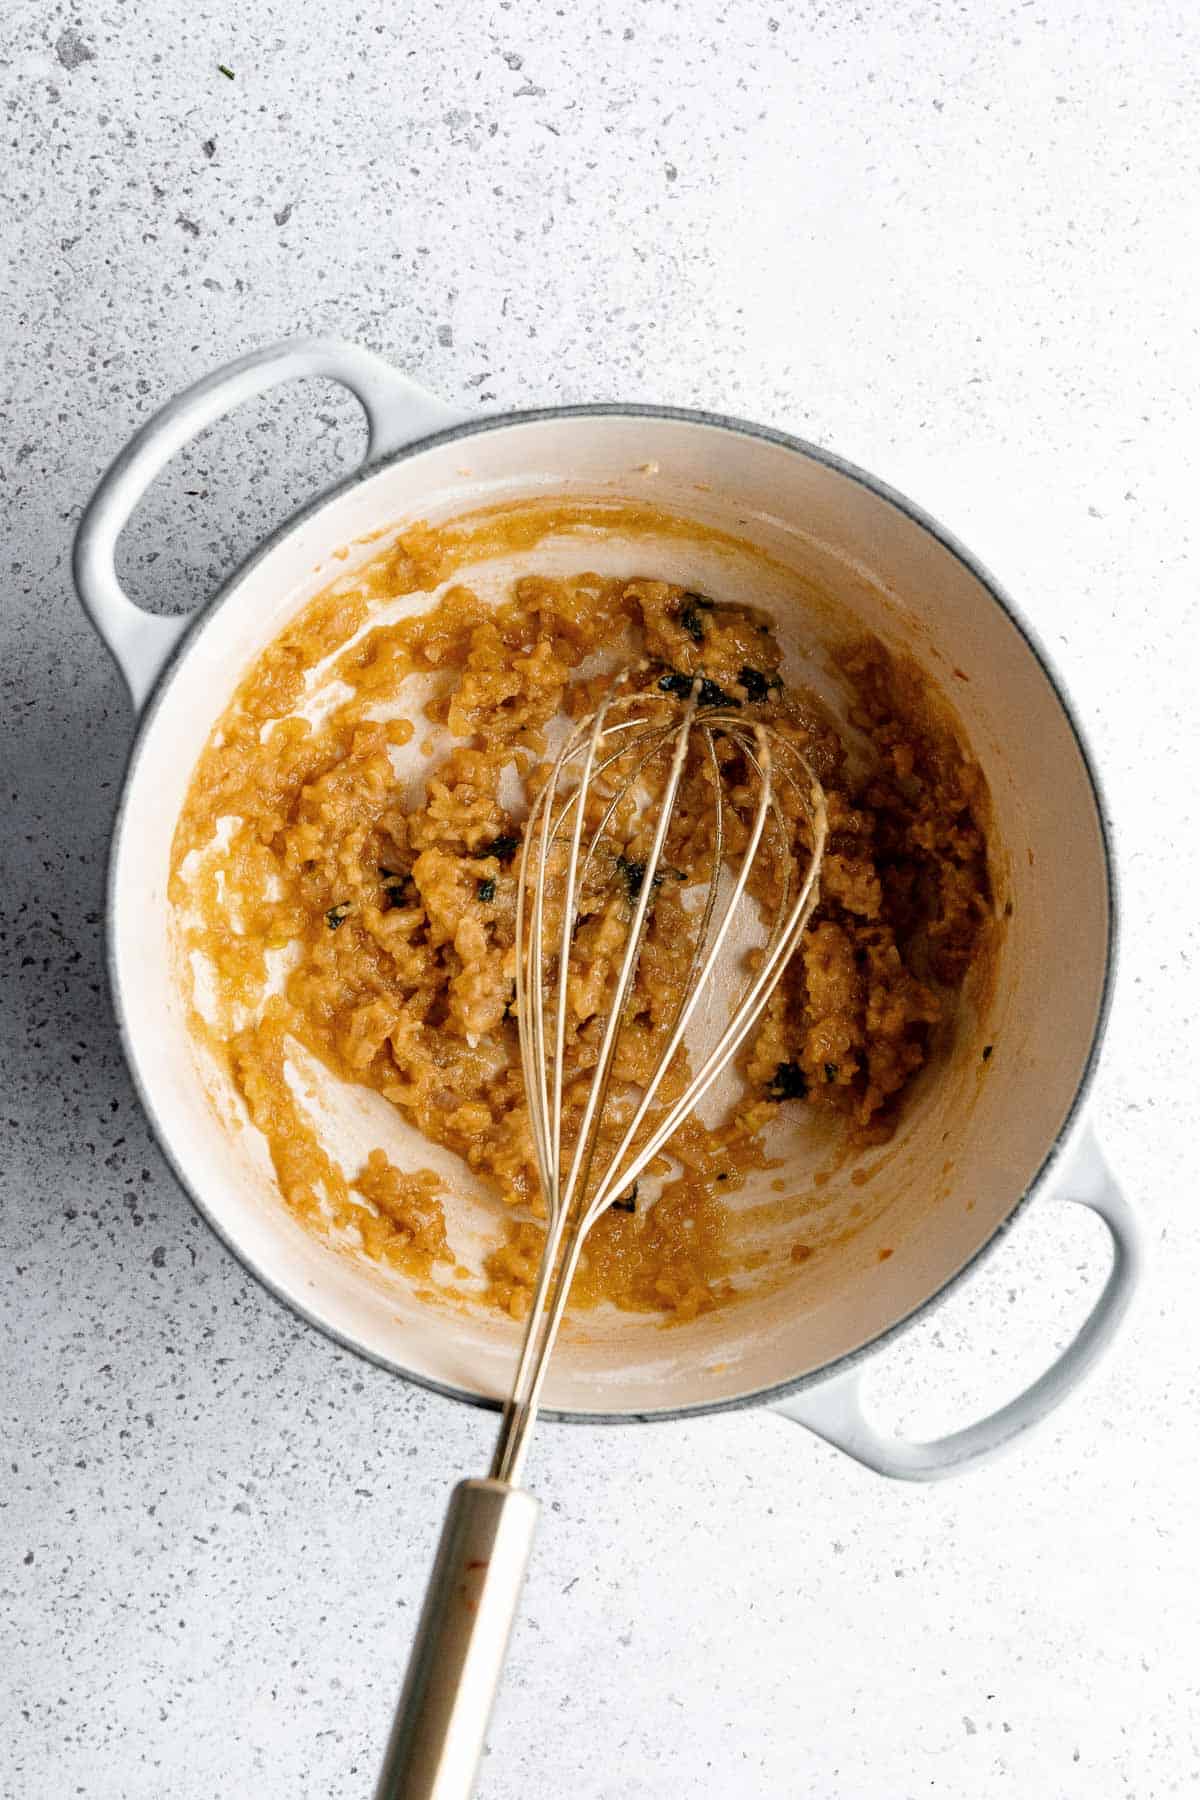
- Once the roux becomes smooth, let it cook for an extra 2-3 minutes to allow the flavors to come together.
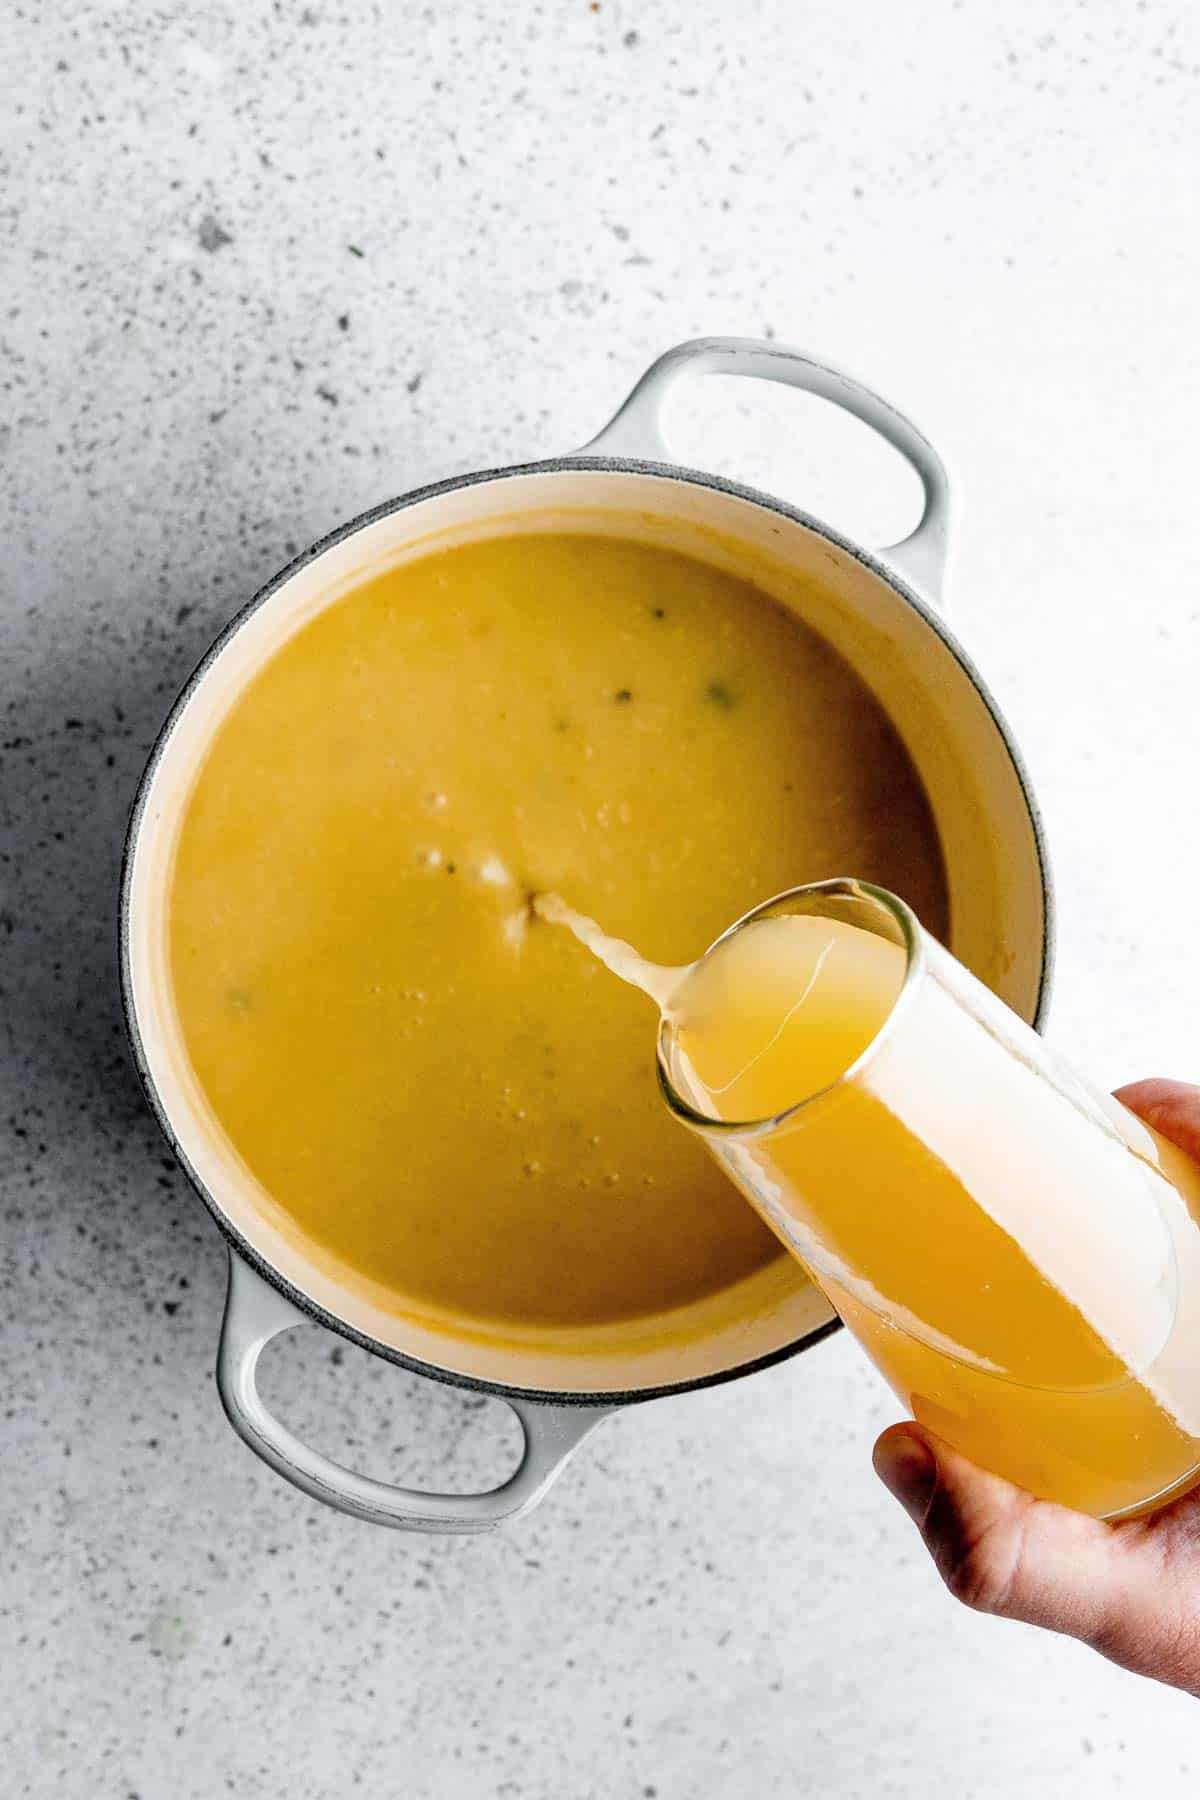
- Slowly pour the chicken broth in while whisking. Make sure it becomes one with the roux, creating a velvety, smooth gravy goodness. If you rush this step, you’ll get lumps. For the best gravy, work the chicken stock in slowly.

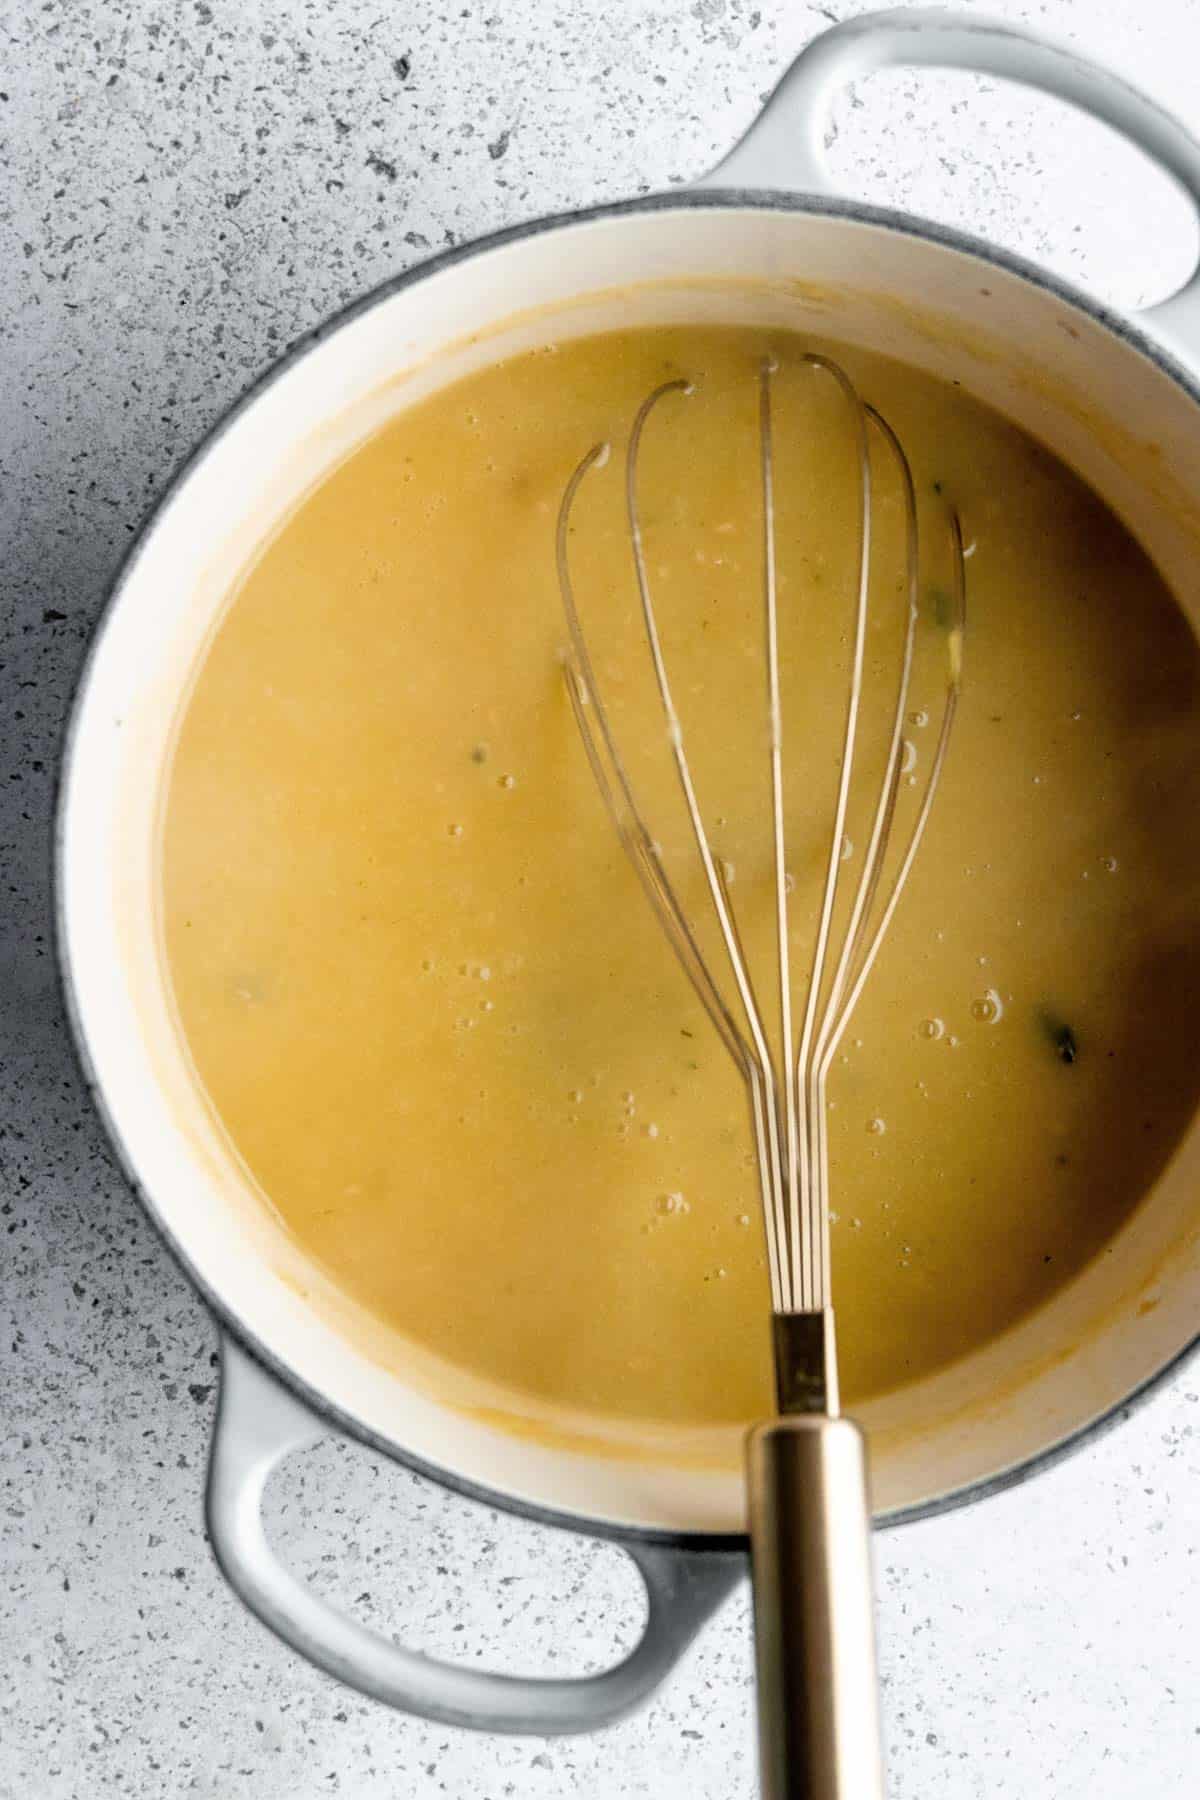
- Add a splash of apple cider vinegar, those remaining sage leaves, and a dash of Worcestershire sauce to the mix to bump up the umami flavor.
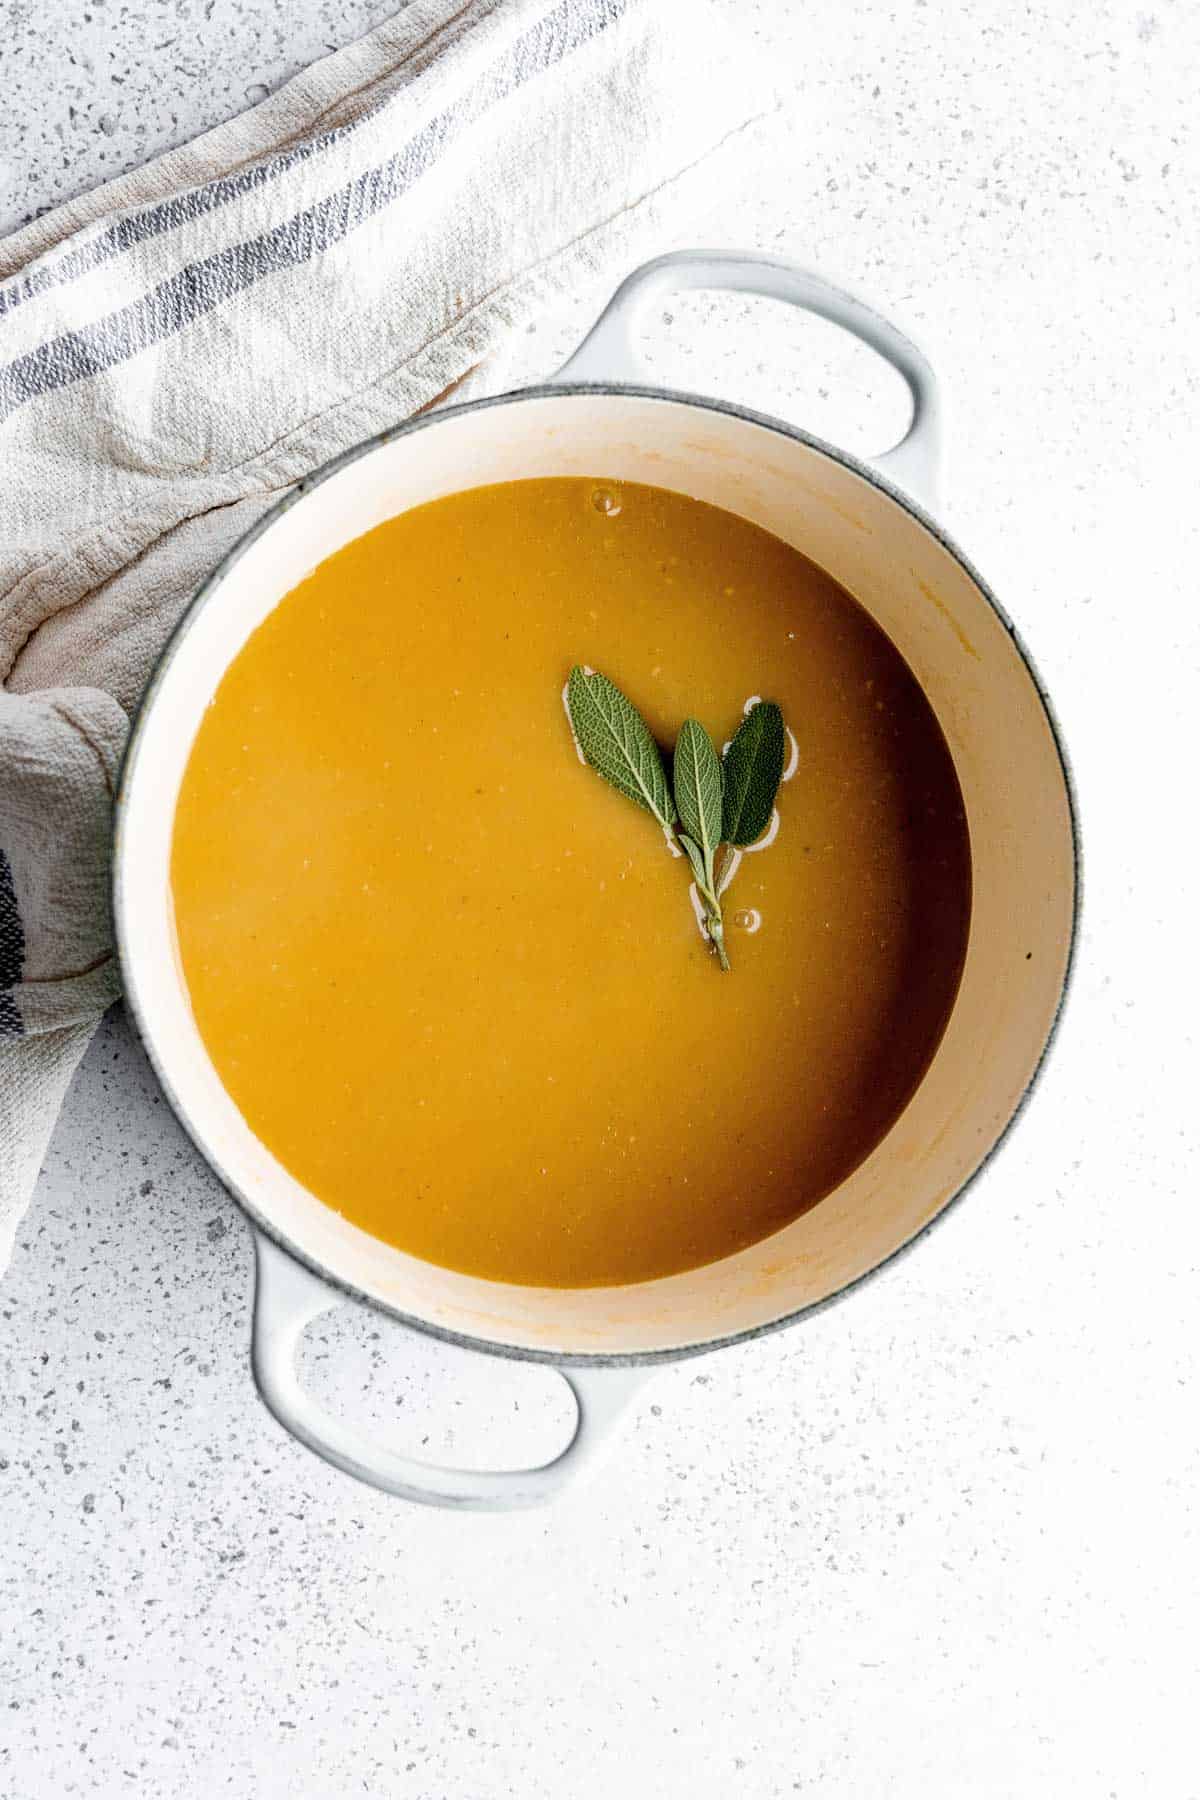
- Crank up the heat and bring everything to a boil. Then, let it chill out and simmer. The longer you let it simmer, the thicker and more amazing your gravy will become.
- Only at the very end, season with a pinch of salt and pepper to taste.
- Once your gravy has reached the perfect level of thickness, you’ve got options. You can serve it up as is, or if you’re feeling fancy, remove those sage leaves and give the thickened sauce a little strain with a fat separator for that extra-smooth vibe. Don’t forget to taste and season as needed.

GIRL CARNIVORE EXPERT RECIPE TIPS
- For thinner gravy, don’t let it simmer for too long. The longer it simmers, the thicker it gets. If your gravy gets too thick, thin it out with a little cold water. We use this trick when reheating it as well.
- If the gravy starts sticking to the bottom of the pan, turn down the heat a little.
- Don’t go crazy with the salt. Chicken broth has plenty of sodium in it unless you get the low-sodium kind. Just test your gravy before adding salt so you don’t overpower it.
- Play around with various seasonings like fresh thyme and rosemary or other fresh herbs to add to the flavor.

Leftovers & Reheating
One thing we love about this recipe is we can make it in advance and freeze it to use for the Thanksgiving menu later on!
Storage:
- Cool gravy to room temperature before storing.
- Store leftover gravy in a sealed, airtight container.
- Label with prep date for freshness.
- Refrigerate for 3-4 days.
Freezing:
Note: Sage leaves should be removed before freezing. Enjoy your Cider and Sage Gravy anytime!
- Freeze without sage leaves for longer storage.
- Use a freezer-safe container or bag.
- Allow space for expansion.
- Label with freeze date.
- Store flat in the freezer for 2-3 months.
Thawing and Reheating:
- Thaw in the fridge overnight, or use the defrost setting on your microwave.
- Reheat in a saucepan on medium heat.
- Stir occasionally until heated through.
- Adjust thickness with water or broth if needed.

More Thanksgiving Recipes
With browned butter, flour, Worcestershire, apple cider, and fresh sage, this turkey gravy is the ultimate compliment to any meal! By following these easy steps, you can craft a delicious gravy in no time at any time of the year, no holidays required.
Save this recipe for later by clicking the ❤️ button on the recipe card. Did you know you can save all of your favorite recipes right to your own recipe index on GirlCarnivore to find them easier later on?
Have you tried this recipe? Do us a favor and rate the recipe card with the ⭐ ⭐ ⭐ ⭐ ⭐ and drop a comment to help out the next reader.
Enjoy the rich flavors of a classic turkey gravy made from scratch – it’s easier than you think! This recipe skips the pan drippings and uses turkey broth for a simple homemade gravy that can be used at Thanksgiving or year round.
Prevent your screen from going to sleep
-
Melt 2 tablespoons of the butter in a saucepan over a medium heat.
-
Add 2 sage leaves to the butter and cook for 1-2 minutes until butter turns a nutty
-
brown.
-
Add finely diced onion and garlic and turn heat down to low and gently sauté until
-
onions are soft and translucent.
-
Add the remaining butter and melt
-
Whisk in the all purpose flour to form a roux
-
Once the roux has formed and is nice and smooth, cook for a further 2-3
-
minutes.
-
Slowly add in the chicken broth, whisking it into the roux as you pour until smooth
-
Stir in the apple cider vinegar, remaining sage leaves and Worcestershire sauce.
-
Bring everything to a boil and turn down to a simmer. The gravy will thicken the
-
longer you cook it.
-
10.Once gravy has thickened you may serve as is, or remove the sage leaves and
-
strain the gravy for an extra smooth gravy. Season to taste.
- For thinner gravy, don’t let it simmer for too long. The longer it simmers, the thicker it gets. If your gravy gets too thick, thin it out with a little cold water. We use this trick when reheating it as well.
- If the gravy starts sticking to the bottom of the pan, turn down the heat a little.
- Don’t go crazy with the salt. Chicken broth has plenty of sodium in it unless you get the low-sodium kind. Just test your gravy before adding salt so you don’t overpower it.
- Play around with various seasonings like fresh thyme and rosemary or other fresh herbs to add to the flavor.
To store and freeze Turkey Gravy, follow these simple instructions:
Storage Instructions:
- Let the gravy cool down to room temperature before storing.
- Transfer the gravy to an airtight container or airtight jar.
- Seal the container tightly to prevent air from getting in.
- Label the container with the date of preparation to keep track of its freshness.
- Store the gravy in the refrigerator for up to 3-4 days.
Freezing Instructions:
- Remember to remove the sage leaves from the gravy before freezing, as their texture and flavor might change during freezing and reheating
- For freezing, use a freezer-safe airtight container or a freezer-safe resealable bag.
- Leave some room at the top of the container or bag to allow for expansion during
freezing. - Label the container or bag with the date of freezing.
- Lay the container flat in the freezer or store the freezer bag in a flat position to maximize space and allow for easy thawing.
- The gravy can be kept in the freezer for up to 2-3 months.
Thawing and Reheating:
- To thaw the frozen gravy, transfer it from the freezer to the refrigerator and let it thaw overnight.
- Alternatively, you can gently thaw the gravy in a microwave on a defrost setting or using the “low” heat setting on a stovetop.
- Once the gravy is thawed, reheat it in a saucepan over medium heat until it’s heated
through. Stir occasionally to prevent sticking or burning. - If the gravy is too thick after thawing, you can add a little water or chicken broth to reach your desired consistency.
Serving: 1g | Calories: 55kcal | Carbohydrates: 5g | Protein: 1g | Fat: 3g | Saturated Fat: 2g | Polyunsaturated Fat: 0.1g | Monounsaturated Fat: 1g | Trans Fat: 0.1g | Cholesterol: 10mg | Sodium: 219mg | Potassium: 48mg | Fiber: 0.3g | Sugar: 2g | Vitamin A: 102IU | Vitamin C: 1mg | Calcium: 8mg | Iron: 0.2mg
Recipe FAQs
Yes! Make the gravy, let it cool, and store it in an airtight container in the fridge for 3-4 days before serving.


